

25 Feb Food Photography & Prop Styling
Hi-Hi lovely readers of Baking Magique!
I am returning today with a second guest post for Thea’s beautiful blog, and this is one I’m quite sure you’ll both be interested in and (hopefully) love… *drum roll, please…*
We’re going to be chatting about food photography and prop styling! Yippee!
Now, as you may or may not be aware, I myself began my online journey as a baking blogger, and in time branched out into the various interests shared on Lace & Lilacs today. I still create and photograph new recipes every so often, though, and have gained, through much trial and error, a basic knowledge of digital food photography, both ‘on set’ (I’ll describe my makeshift studio further on), and out and about in the world – travel food photography, for instance. So, without further ado, let’s just jump in, shall we?
ON SELECTING PROPS
Choosing pretty props has been one of my very favorite aspects of photographing food forever and ever. There are several different aesthetic styles you can make an effort to emulate while shooting, and proper props are key when it comes to creating the specific mood and the overall feel you’re aiming for. Two themes especially popular in the food blogging world at the moment are ‘rustic’ (think Adventures in Cooking; a country feel, dark, moody lighting, foraged elements, etc.) and ‘minimalist’ (think Minimalist Baker; minimal props; it’s all about the food). I myself tend to lean towards a more minimal approach, but it’s important to select the pieces that feel most natural to you.
As far as where to purchase said pieces, I make an effort to steer clear of over-priced, shiny and new items… and the chain locations that typically sell them. Instead, make a habit of frequenting your neighborhood thrift stores and vintage/antique shops. You never know what you might discover.

ON CAMERA SETTINGS
The technical aspects of photography have never come especially easy to me, but are absolutely necessary to learn in order to produce work you love. Within time, and a whole lot of fiddling with various camera modes, I gained a basic knowledge and understanding of how the camera works… and while I would love to share this information with you, it is a detailed topic; a WHOLE other post. Today we’ll stick to the basics, yes?
First and foremost: know and understand your camera. The images featured here were all shot with a Canon EOS Rebel, T3i and an 18-250mm f/3.5-6.3 DC Macro OS HSM lens. A DSLR is not necessary to create high-quality food photographs, however. Whether you’re using an iPhone, a basic point-and-shoot, or a disposable camera, the following tips will help you create work you are proud of:
1) Natural Light. ONLY. Seriously.
Though some professional food stylists and photographers do shoot with artificial light, I highly, highly recommend that you NOT take this route as an amateur photographer. It is far too easy to produce unappetizing, fake, and over/under exposed pictures. Set up your photo shoot by a large window during cloudy, but light and sunny, days for best results.
2) No Flash.
I suppose this may go without saying given the previous point on natural lighting, but do not use flash under any circumstances, as tempting as it is. If the area you are shooting in isn’t bright enough, either move or wait for more favorable weather conditions.
3) Be Cautious With Zoom
Now, zooming in on the recipes you’ve created can sometimes create drool-worthy, excellent images… but it can also lead to photos of awful quality where the subject isn’t entirely discernible. Try to take a few snapshots from various angles and distances before closing in the food.

ON CREATING A PHOTO ‘STUDIO’
There is no truly wrong way to set up a miniature ‘studio’ of your own, so I’ll simply describe mine to you in order to provide you with a bit of inspiration.
At my home in California (which I’ll be seeing again this June, hurrah!), I shoot beside a large sliding glass door that allows filtered, not-too-bright light to enter the room. Beside this window is a small antique table I scored for cheap at a thrift store in town. Oftentimes I cover it in fabric or lace, depending on the effect I’m aiming for. The table is positioned against a white wall, which I occasionally use as a natural background. Usually, however, I prop a piece of thick, white foam board up against this wall to create a whiter, more finished background surface for my images
And I suppose that’s really all there is to the set!

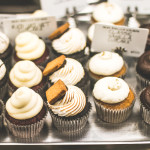
ON STYLING FOOD
Now, this is where things get just the teeniest bit more complicated. Each individual’s styling techniques are quite personal and unique to them, so your images may not look like mine, just as mine don’t look like Thea’s, etc.
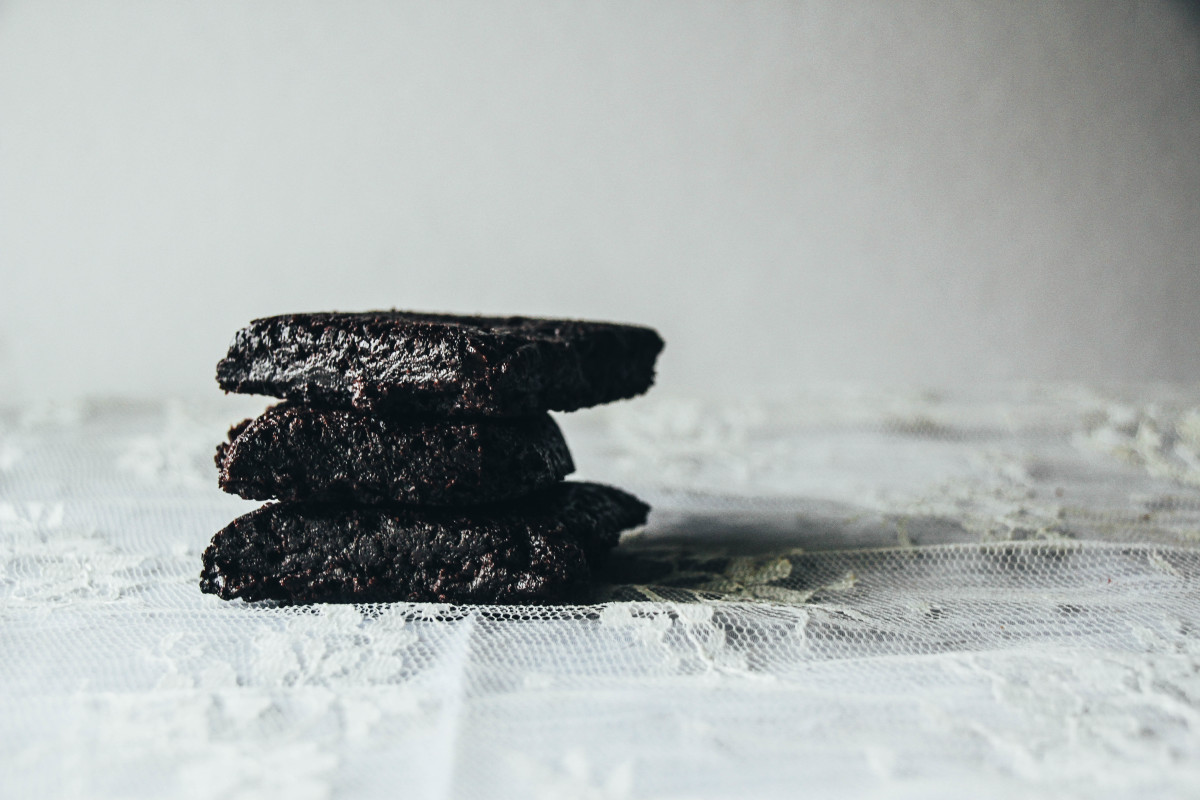
As I mentioned earlier, my approach is highly minimalistic. I enjoy highlighting the food itself, and displaying it as naturally as possible for readers of Lace & Lilacs. More often than not, I have a vision in my mind of how the finished photographs will look. It goes without saying that there is not magical way to edit or disguise what you’ve baked before the camera, so pretty please don’t assume if your recipe isn’t attractive that special effects or a terrific lens will solve the issue for you. What you see is usually what you get, in cases of shooting food.
A foolproof way to begin each individual styling session is to lay the baked good, meal, or beverage out on your set. Take a few shots, determine what did or didn’t work for you, then move the item around a bit more. The entire process is really one of trial and error, and within time you’ll have a fair idea beforehand of what you’re going for, and what will definitely work vs. what will definitely not.

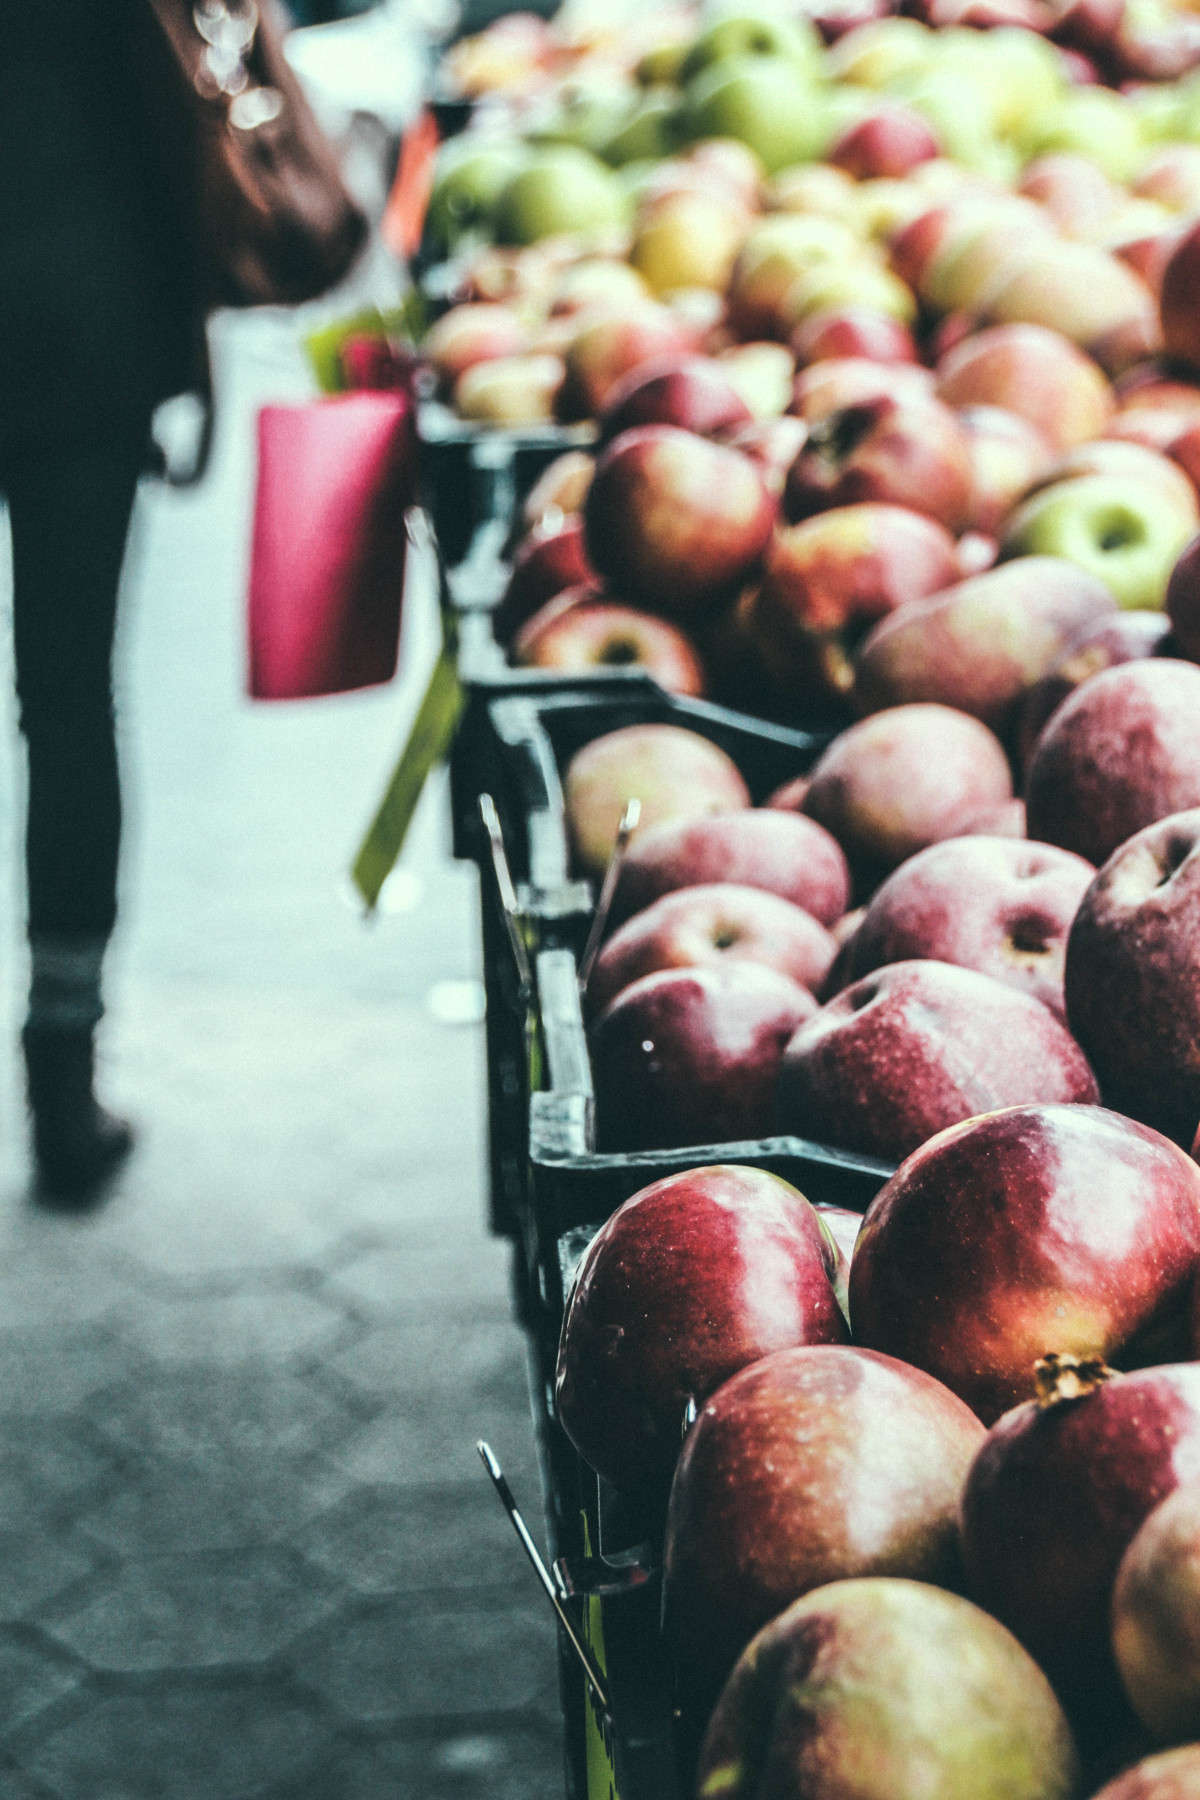
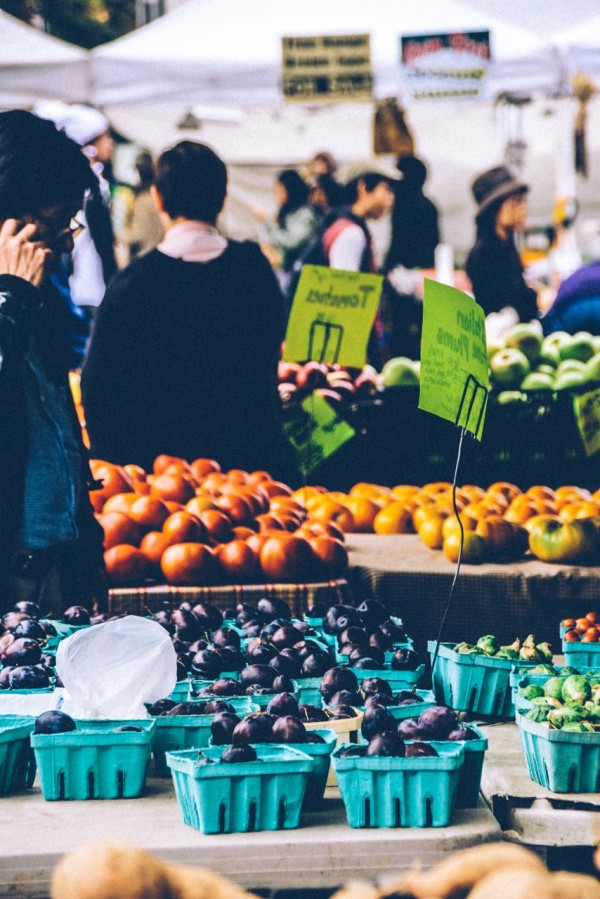
ON FOOD PHOTOGRAPHY OUTSIDE THE KITCHEN
Finally, a note on more spontaneous food photography: shooting the ice cream cone you purchased while roaming a new city on vacation, or taking snapshots at a local produce market. No styling is involved, of course, and as a result you have far less control over what each finished image will look like. I recommend brushing up on key photo theories before heading out on a shoot… the rule of thirds is an excellent example. Within time your photographs will improve. Practice makes perfect, after all!
I hope you enjoyed today’s post, all! Sending hearts,
Abby


Sara
Posted at 16:53h, 26 FebruaryThis is a great and very helpful guest post! It’s my dream to one day do some food photography of my own, and this gives me an idea of how to start out, as well as possibly what kind/model of camera to buy (once I have the money). Gorgeous photography, too! I personally love the rustic style myself — well, I like both, but rustic really puts me in a cozy mood somehow. 🙂 But both rustic and minimalist styles are wonderful! And I adore those pictures of the market(s). It makes me want to move back to Europe!
Thea Tillberg
Posted at 18:25h, 04 MarchI’m glad you like the guest post Sarah! 🙂
Kalieta
Posted at 22:36h, 09 AprilThis is a very nice post, Thea! Thanks for sharing your tips!